

Introduction
QSM Windows is an easy to setup software for managing Minecraft servers for beginners.
Installation
Section titled “Installation”Find the latest version of QSM.Windows at GitHub Releases,
the installer file will be named something like QSMWindows-x64-[version].exe, then you can simply download and
run it.
Find the latest version of QSM.Windows at GitHub Releases,
download the .zip file, then you can simply extract the .zip file and run the file named QSM.Windows.exe.
Open your Terminal, then run:
winget install --id LinesOfCodes.QSM.WindowsSetting up Java
Section titled “Setting up Java”You will need to set up a Java instance for your server first. You can go into the Settings > Manage Java Installations page and either import or download a Java Runtime.
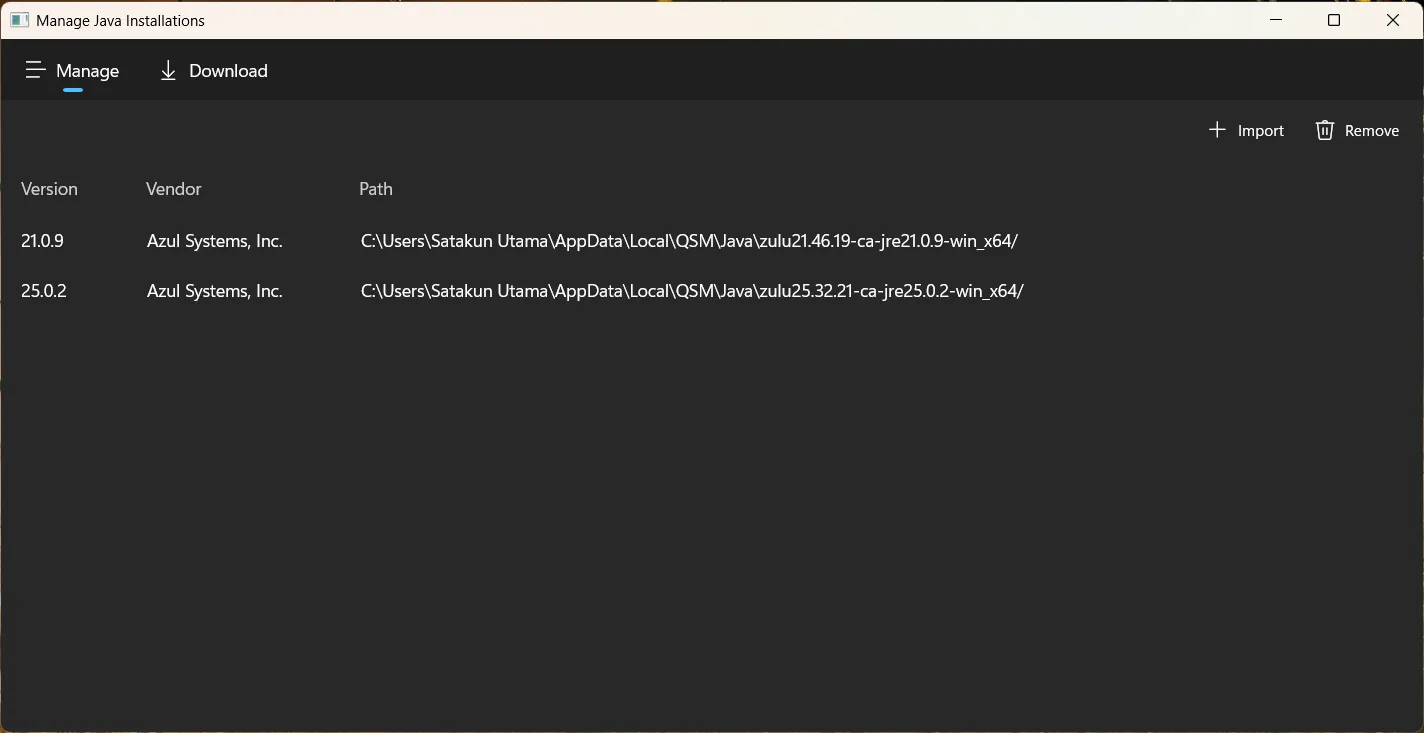
If you wish to import, You will need to select your Java installation folder.
Your Java’s installation folder is the path to your Java installation. It might be anywhere
depending on where you installed your Java, but usually, it would be in the
C:\Program Files\<Provider Name>\<Java Version> (Such as,
C:\Program Files\Zulu\zulu-21 for Azul Zulu 21, C:\Program Files\Java\jdk-21
for Oracle Java SE 21)
If you wish to download, You can simply do that by going to the Download tab within the Java Management page, select a Java version, then you can simply pick the latest build, and click Download.
If you do not know which Java version to pick, Generally:
- Java 8 for Minecraft 1.8 to 1.11
- Java 11 for Minecraft 1.12 to 1.16.5
- Java 17 for Minecraft 1.17 to 1.19.2
- Java 21 for Minecraft 1.20 to 1.21.11
- Java 25 for Minecraft 26.1 and newer
However, later Minecraft versions tend to tolerate Java versions newer than what it was built for just fine.